Light painting is the art of painting with light.
This is something which anyone can do with a DSLR. Even if you don’t consider yourself as a “photographer”, you can still do this because this has nothing to do with Photoshop or pricey DSLRs. It’s pure science of photography.
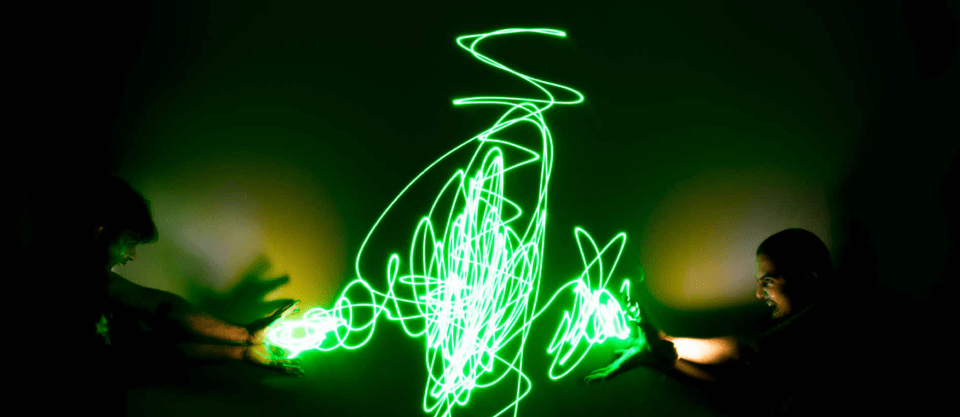
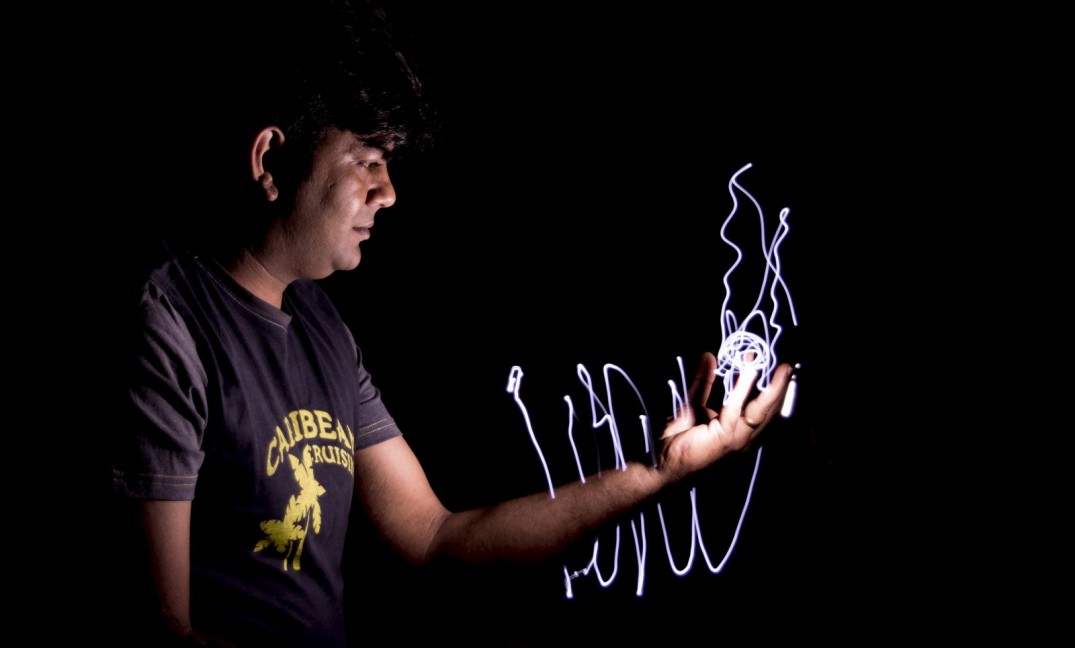
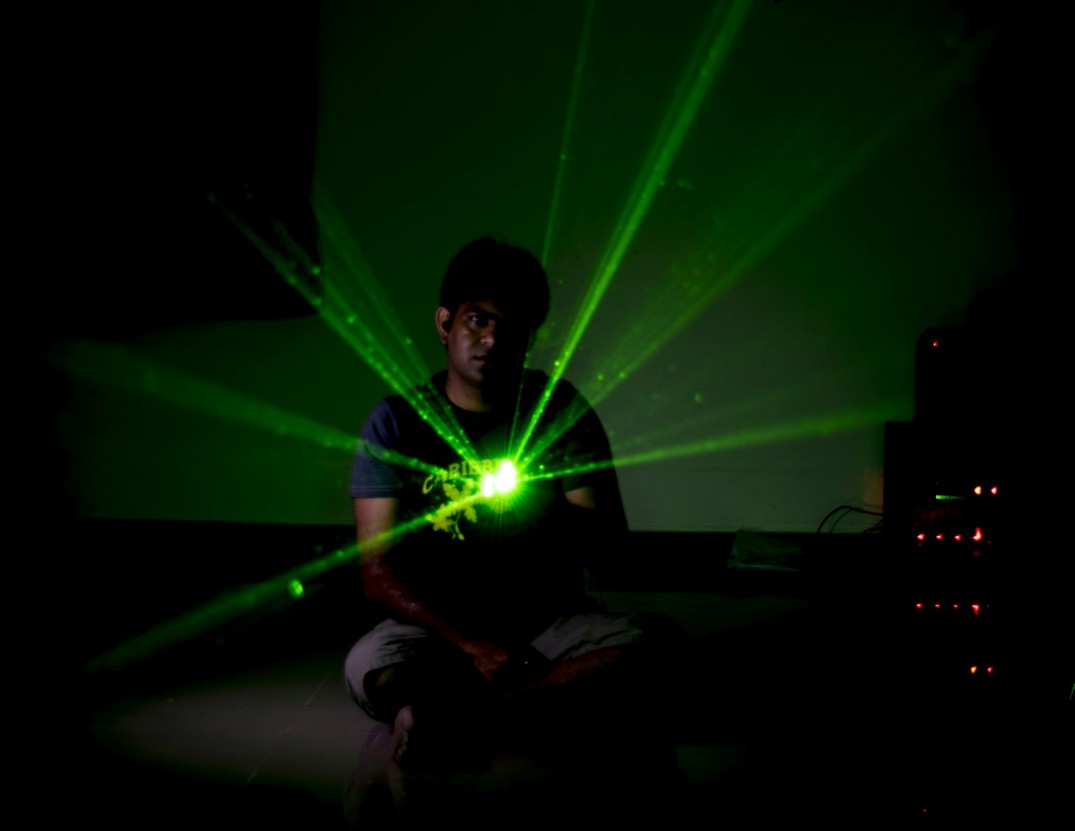
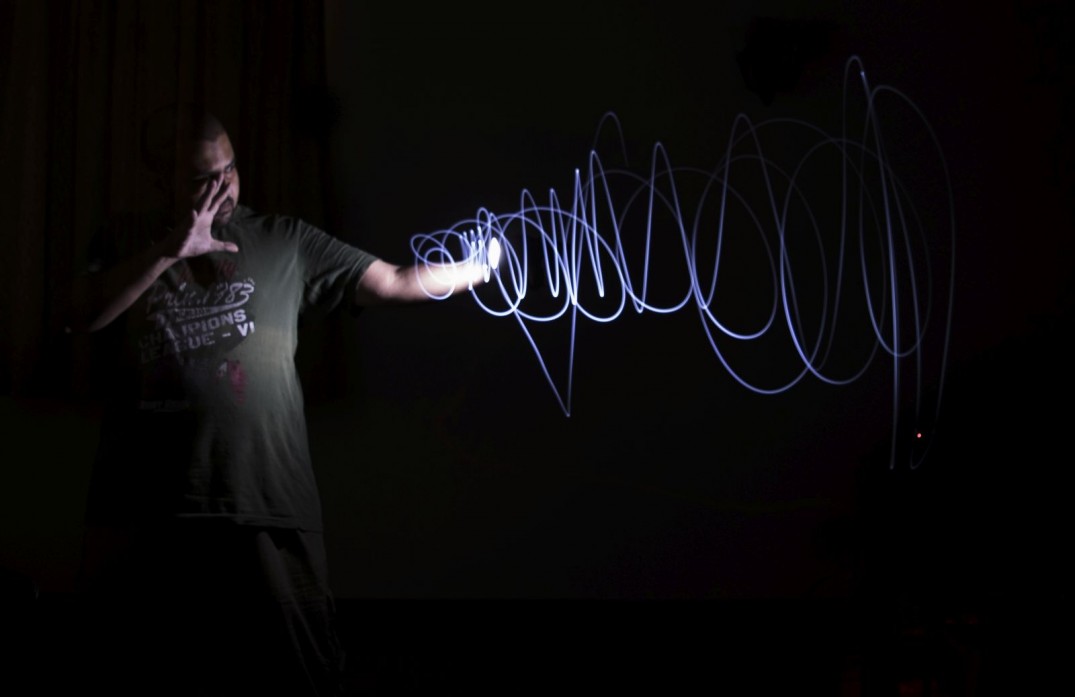
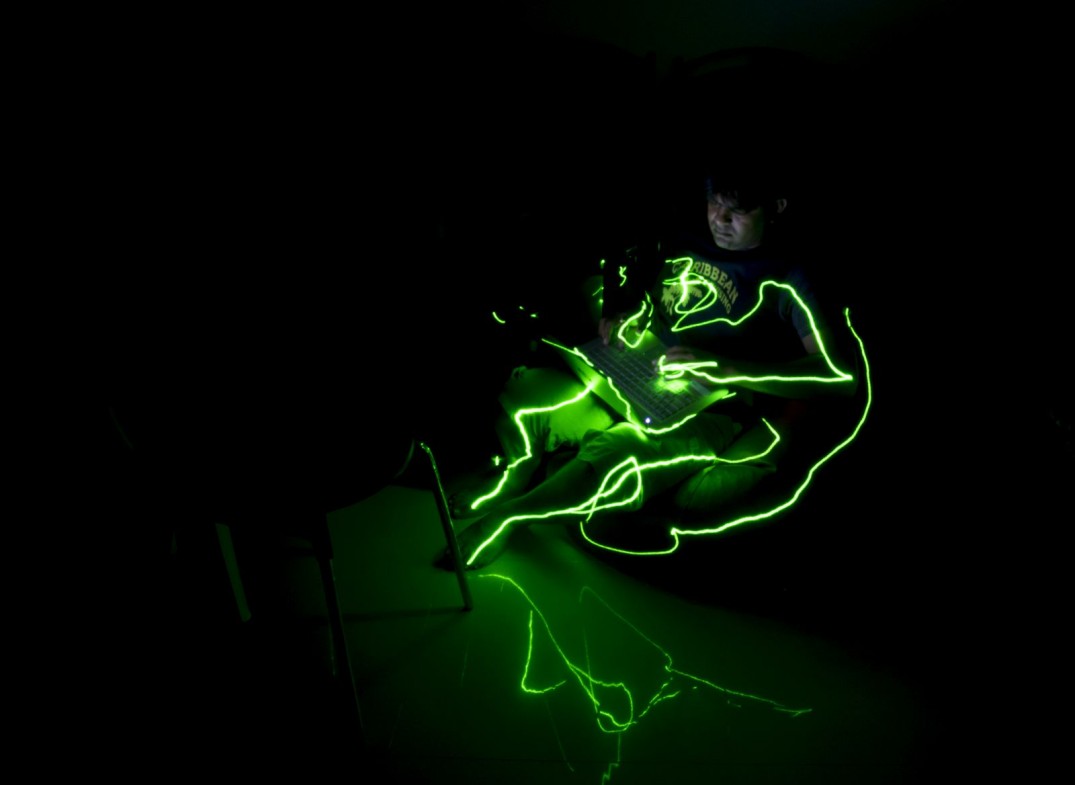
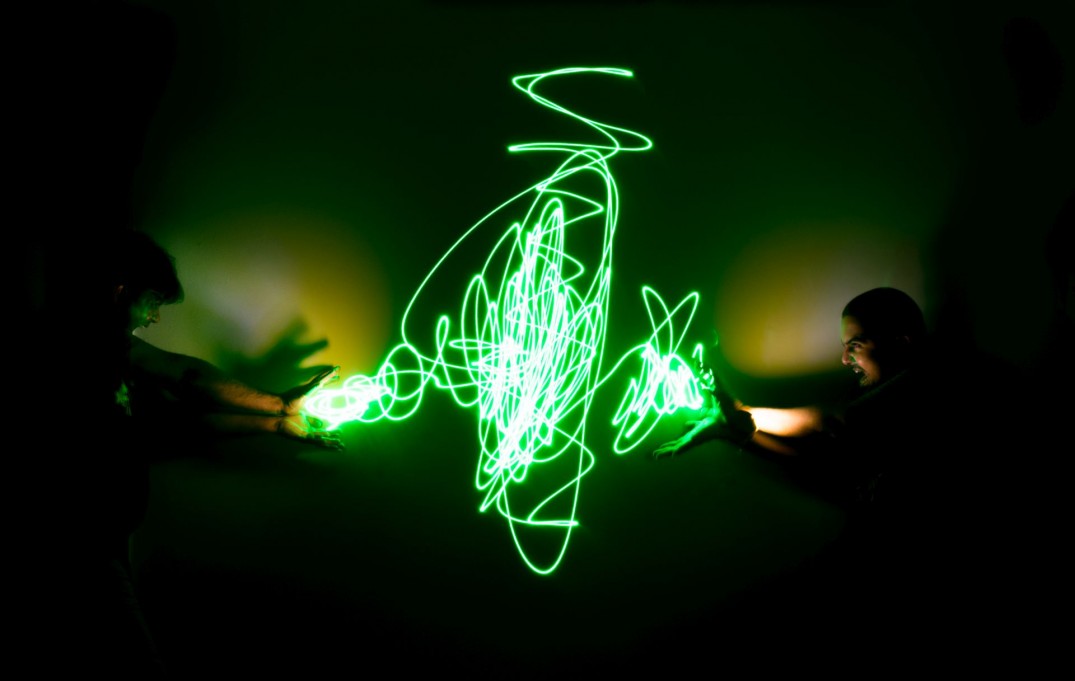
Here are some examples of light painting.

The science
To understand light painting, you must understand how a camera works.
When you press the shutter release button on the camera to click pictures, the shutter opens and closes very quickly, allowing just enough light to enter inside the camera and burn the digital film just enough to create an image. This happens within fractions of a few seconds.
When you set the shutter speed to expose for a very long time, the camera is allowing light to continuously fall on the digital film. If this light were to move while the shutter is open, it will trace the path of the movement of the light.
Now, let’s see how to put this knowledge to paint with light and create this image.
This is a 30 seconds exposure shot. Yes, the shutter was open for 30 seconds and during this time, we were painting this pattern with the laser.
Things you will need to do this
The preparation of your shoot will depend on the kind of scene that you have in your mind. However, these are the basic things that you will need to create simple light painting shots like in this light painting tutorial.
- A tripod: There is no way of getting a steady shot at slow shutter speeds when you shoot hand-held. You will most definitely need a tripod.
- A dark room: Ambient light can affect your final image. So shoot in a dark room. If you want to shoot outdoors, do it at night.
- Light sources: Lasers, single LED lights, focus lights, all are good light sources. Different lights will create different patterns as you move. I strongly recommend you to experiment with them and understand which ones will work for you based on the scene that you have in mind.
- External flash: This one is especially necessary when you are trying to light paint with people. People cannot hold still for long exposure. Even slightest movement will make them go blur and out of focus in your images.
- A partner: Creating scene is light painting by self-shots is not impossible, but you might end up in sticky situations at times. It’s best to have someone with you to assist you in your shoot.
Setup
- Set the camera on your tripod and compose your scene.
- Use auto focus mode to focus on your subject. If you are shooting outdoors and it’s already dark, then use single LED lights or flash a laser or any other light on them to auto focus. After setting the auto focus, switch the focus mode on the lens from auto to manual mode.
- On your camera, set the desired shutter speed by gauging for how long you will paint. For this particular scene, I set the exposure length to 30 seconds, aperture to f/11 and ISO to 100.
- Once you have made the settings and the model has taken their position, turn off all the lights. It’s time to shoot.
Shooting
- Press that shutter release button. The camera will not attempt to focus because now it’s in manual mode. The camera shutter will open and it will start capturing every light source that it sees. You now have 30 seconds to complete your shot.
- I first ran up to my friend and fired a flash at him, then I took the laser pen and started painting the path from his hands. I then put down the laser and flash and quickly took my position.
- Meanwhile, my friend was already on the way to pick up the flash and the laser that I put down. He then fired the flash at me and traced a light path from my hand.
Things to remember
Looking to sharpen your photography skills? Join our top-rated professional diploma in photography today!


