Photoshop is a powerful software when it comes to editing pictures. From altering photos to enhancing them, there are a plethora of Photoshop tools for you to work on your images and edit them to your liking. Here, we are going to explore one particular effect: blurring the background.
Why Blur the Background?
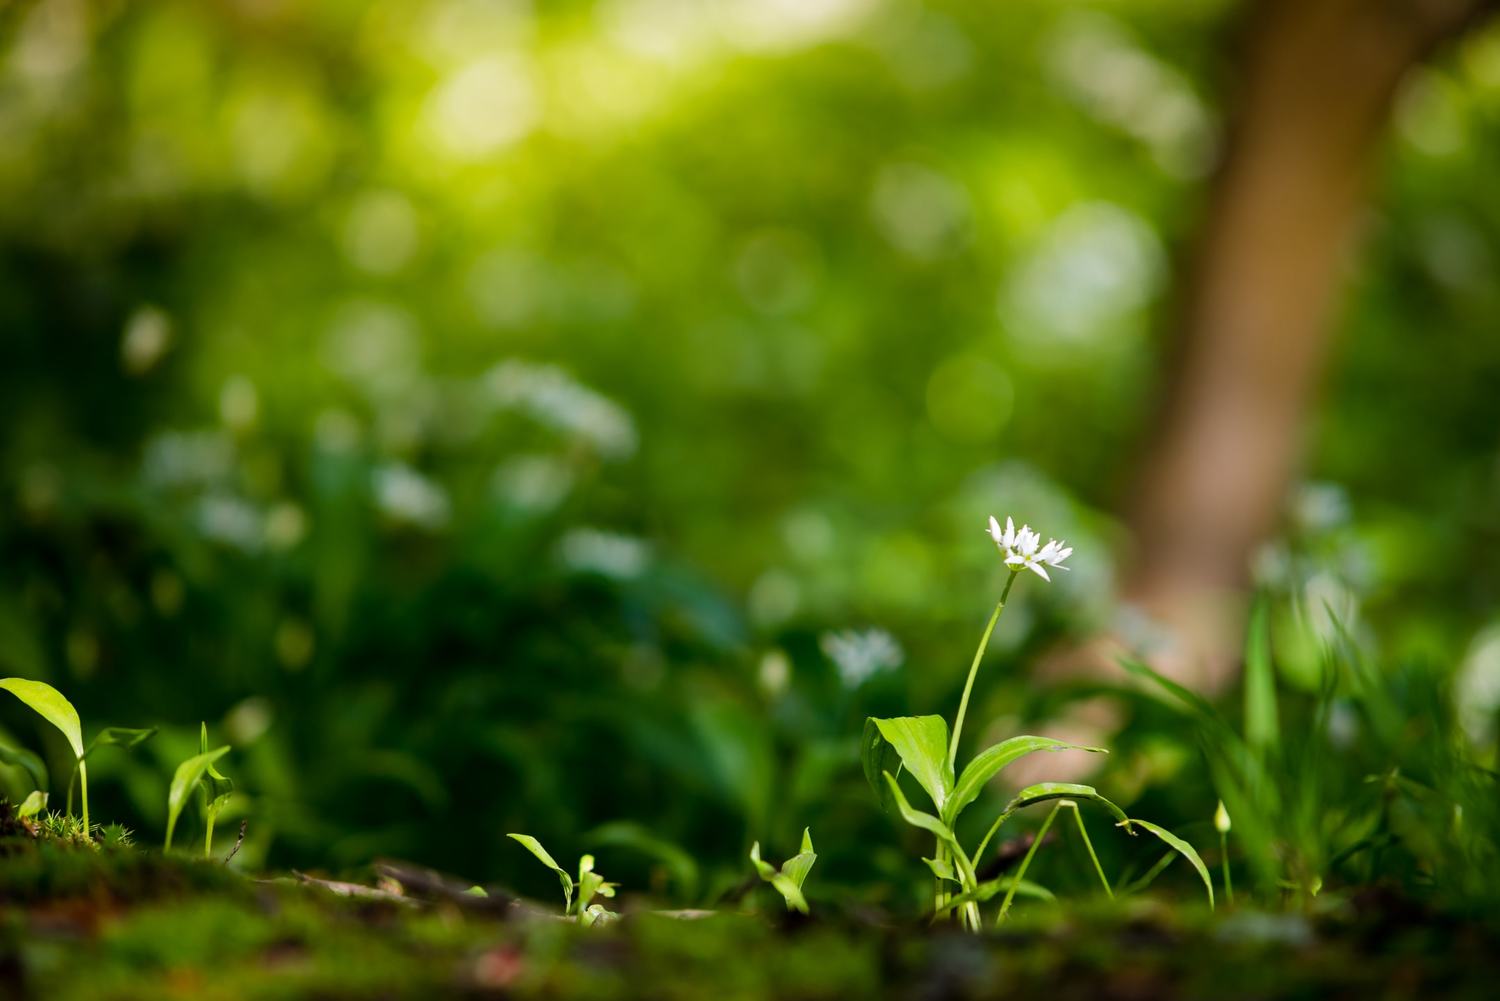
The background blur is a technique that’s common with high-end cameras with wide-aperture lenses. The main reason why you would want to blur the background is so that the main subject of your photo is in focus, especially in the “portrait” mode. If you do not possess a professional camera, fear not; Photoshop tools can make your picture with a blurred background just as good.
How to Blur a Photo Background Using Photoshop Tools
There are a variety of Photoshop tools and filters to achieve the blurred background effect, and it is up to you to play around until you are satisfied with the result. Let’s look at the most common ways of blurring a photo background with the following Photoshop tools.
Blur Tool:
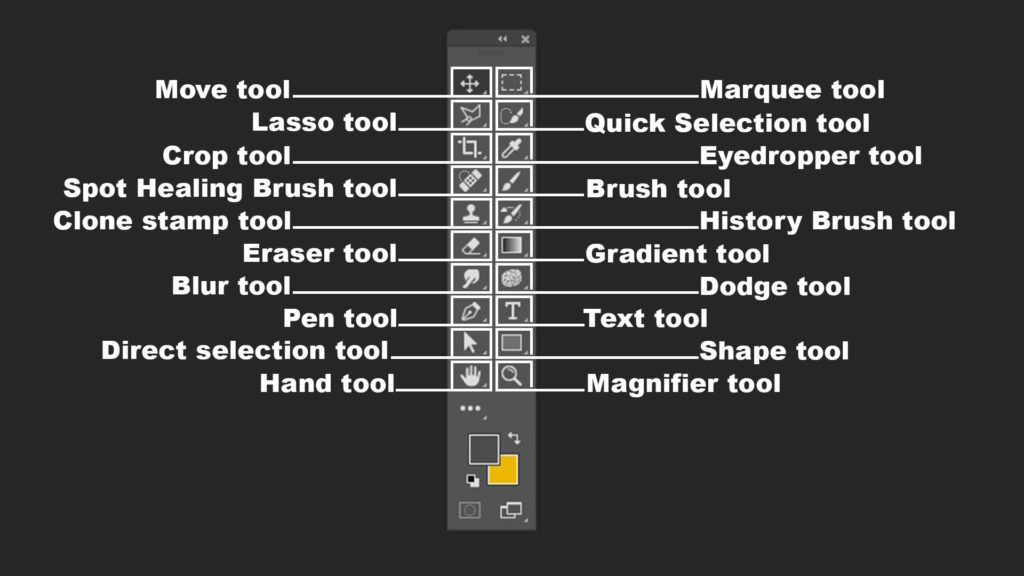
The best Photoshop tool to obtain a blurred background is the blur tool. The blur tool in Photoshop looks like a raindrop and can be found on the toolbar. Here are the steps to using the blur tool:
- Open the toolbar, click on the blur tool and select the brush size and stroke from the top of the screen.
- Choose the area of the image that you would like to focus on.
- Choose the blur strength i.e., how strong you want the blur effect to be.
- Click and hold your mouse down over all the parts of the image where you want to blur the background. Move the mouse in a circular manner.
- The blurred background image is ready.
Lasso Tool:
Another Photoshop tool for blurred photo backgrounds is the lasso tool. There are three types of lasso tools: rectangular, polygonal (if the background has straight edges), and magnetic lassos (where Photoshop selects the foreground and background for you). Follow these steps to use this Photoshop tool:
- Select the appropriate lasso tool from the toolbar.
- Hold your mouse and draw a line around the area you want to blur the background. When you release it, the line will appear like marching ants.
- After marking the desired region, go to the Filter option from the menu at the top and select “Blur.” Choose any variation and select the parameters like blur radius and angle to get the desired effect.
- When you are happy with the effect, save the image.
Using a Ghost Layer:
Ghosting an image is an excellent Photoshop tool for a blurry effect. Horror film fans who want to lend their pictures a ghostly effect can use this Photoshop tool with the following steps:
- Right-click on the background layer in the layers palette (right of the screen) and select “Duplicate Layer” and rename it if needed (say, “blur”).
- Go to the Filter option from the menu and select Blur. Choose the appropriate blur style and set the parameters.
- In the layers palette, click the half-moon icon and select any adjustment layer option. Don’t move any of the sliders.
- Drag the adjustment layer below the “blur” layer. Press the Alt key and move the cursor between the two layers. When a double-circle symbol appears, click; the blur icon moves right.
- Click on the white rectangle in the adjustments layer. Press Alt+Del – the mask is removed, and the original image is visible.
- Select the brush tool and choose a soft-edged brush. Set opacity as 100% and size as 500 pixels. Press X – this makes the foreground colour white. Now paint over the areas you want to blur.
- You might have to zoom in to some areas and fine-tune the blur parameters.
Types of Blur Styles in Photoshop:
With the above Photoshop tools, you can choose from nine styles to effectively blur your images.
Average:
This mode takes the average colour inside the selected area and blurs it. It helps to create smooth adjustments.
Blur or Blur More:
This is a better effect to use when different colours meet. Here too, the average of the colours of pixels next to the hard edges is selected and applied. The “blur more” feature enhances the haze by three-fold, giving a more dramatic effect.
Box Blur:
The average colour of the selected region and that of the pixels adjacent to the area are chosen and are blended to give a line-free blur.
Gaussian Blur:
This technique is commonly used in graphics software. It blurs a background using the Gaussian function (the bell-shaped curve) and is mainly used to reduce image noise and details.

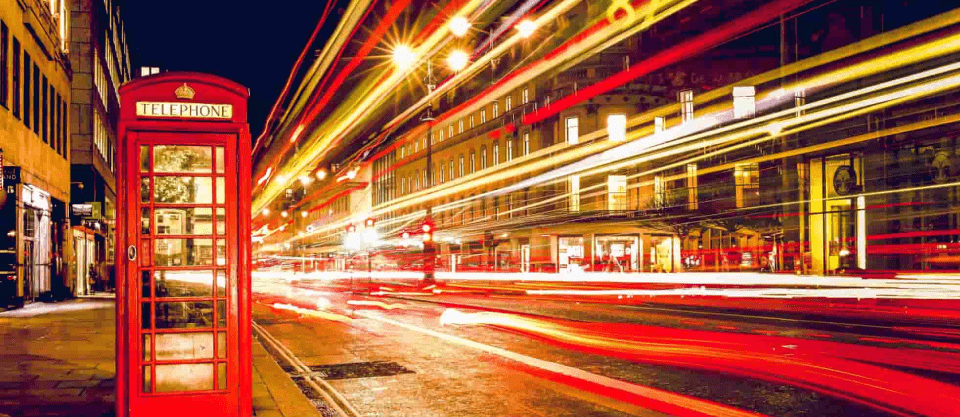
Motion Blur:
This is the effect where moving objects appear as streaks in the photo, similar to how it would be if you took a picture from a moving vehicle with fixed exposure time.
Smart Blur:
This option gives you very precise control over how you blur the image: you can change the blur radius, pixel values, and even blur quality. You can choose a mode for the full selection or only for the edges of colour transitions.
Surface Blur:
Here, you can keep the edges of the image sharp but blur the centre. This effect is used for removing graininess. We can set a threshold that determines the difference in the tonal values between neighbouring pixels and the centre ones.

Radial Blur:
The image has a blurred background starting from a single point in the photo that we can specify – away from or towards the point. “Spin blurs” (circular motion effects to mimic an object’s rotation) occur along with concentric circles, and “zoom blurs” (as if you are zooming in or out of the image) occur along the radial lines.
Lens Blur:
Select portions of the image can remain blurred, and others can stay in focus, depending on the layer mask and transparency settings. You can decide the shape of the blur.
Et Voilà!
Your image is now successfully modified using Photoshop tools! Photoshop offers so much more for you to play around and experiment with, so knowing how the various Photoshop tools work can boost your creativity.
Looking to sharpen your photoshop skills? Join our top-rated online photoshop course today!