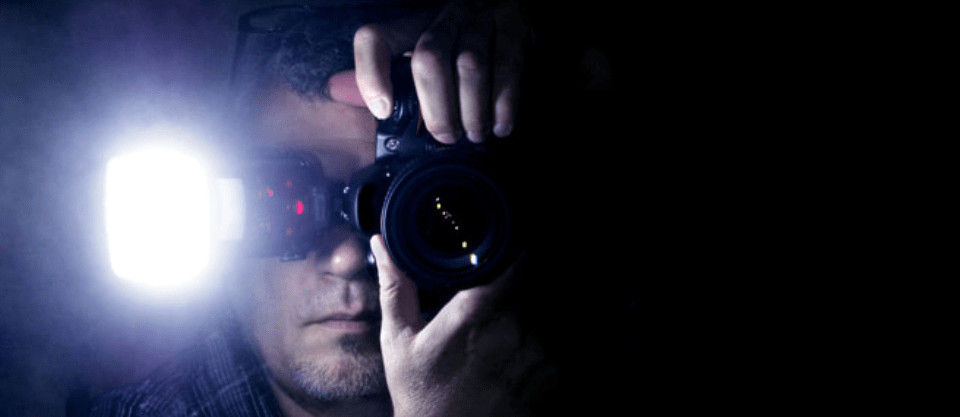
Flash Photography: How To Use Manual Flash Mode
Just like your DSLR has manual modes, your flash has manual modes too. And just like you need to learn manual modes to take full control over your camera, you’ll need to learn manual flash mode to really take control of your flash. The good news is, once you’ve learned how to use manual modes, using your flash on manual settings is pretty easy to pick up.
Flash sync modes determine when your flash fires, and manual mode allows you to choose how much light is actually fired. When it’s left on its default setting, the camera’s meter will choose a setting for the flash, but often tells the flash to fire too much light. Manual flash mode allows you to adjust the intensity. It’s like a dimmer switch for your flash.
Manual flash mode uses fractions. You can either have your flash on full power, or have it fire at just a fraction of its capabilities. The 1/2 setting on manual flash mode is simply 1/2 the power of the full flash.
What begins to get tricky is that digital cameras don’t have a built in flash meter. When shooting in manual mode, the exposure meter will guide you to the right exposure, but there isn’t a similar flash meter for using manual flash mode. You can buy a flash meter or stand-alone light meter to help, but you can also simply experiment to find what works.
Most of the time, manual flash mode is used to match the existing lighting, so it’s not obvious that a flash was even used in the first place. The first step, then, is to expose the camera for the ambient light. Keep in mind that the flash will help light objects that are closest, so you’ll generally want to expose for the background elements or the sky, creating a silhouette with the subject.
Next, you’ll need to set your flash output. Without a meter this involves a bit of guesswork, as well as simply knowing your gear and getting acquainted with how your flash performs. But the exposure settings you just set have an impact on the flash as well. Wide apertures (smaller f-numbers) will make the flash appear brighter, while narrower apertures (higher f-stop numbers) won’t see as much of a dramatic effect. Since the flash is a short burst of light, the shutter speed doesn’t affect the intensity of the flash (just remember to keep it below your camera’s flash sync speed).
 Without a meter, start with the flash at reduced power. 1/4 is a good place to start. On a hot shoe flash, use the “+” and “-” buttons. Many cameras also have manual modes for the pop-up flash. These settings are usually located in the custom or shooting menu. Take the photo, then look at your screen and determine if the settings need to be changed. If the flash is too much, turn it down. If it’s not enough, use a higher output like 1/2.
Remember, exposure doesn’t have a right or wrong answer, it’s a matter of opinion. You may need to try a few different exposure settings as well as different flash settings to find what looks best to you.
Often, using a flash modifier along with manual flash settings together helps to blend both the flash and the ambient light. A diffuser helps spread and soften the flash. If the colour of the flash doesn’t match the existing light, placing a colored gel over your flash can help as well.
Manual flash mode allows you to choose just how much light is added to the scene, whether at full power, or just a bit. Adjusting the intensity of your flash is essential to making your image appear like the flash wasn’t used at all.
Looking to sharpen your photography skills? Join our top-rated professional photography course today!


