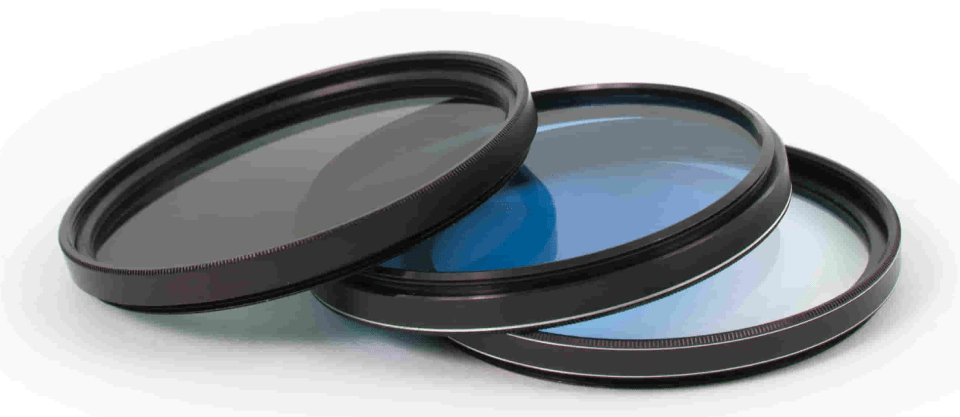
Filters may be just a small thing that fits onto the end of your lens, but sometimes a filter can make an impossible shot possible. Relatively inexpensive in the realm of photography gear, buying every filter out there can still get expensive quick, and make your camera bag pretty packed. While some filters are used for very specific purposes, there’s a few that come in handy no matter what you’re shooting. Here are three filters that any photographer will find handy to keep in their kit.
UV Filter
Lenses certainly aren’t cheap and even the tiniest scratch can render them useless. That’s where a UV filter comes in.
UV filters are used in film photography to eliminate the haze caused by UV light. Today’s digital cameras actually do a good job on their own rendering a clear image. So why does every photographer need not just one, but one for every lens?
UV filters don’t affect the light coming in when shooting digital. They’re clear, so they won’t reduce the light coming in at all. UV filters aren’t needed for their effect on the images (since there is none with a digital camera), but for the protection. While a filter won’t protect a lens from drops, it will keep the front of the lens from scratches. Any mishap that would scratch the lens will instead scratch the filter, and a $20 filter is a whole lot easier to replace than an $800 lens.
The circular, screw-in style is the most popular for UV filters. While square filters have their uses, the screw-in type is better for protecting the lens.
UV filters shouldn’t be left on the lens 24/7, however. If you place another filter on top of that, you may start to see vignetting on the edges from stacking filters. Another type of filter will keep the lens protected as well, UVs are only used because they have no effect on the image. So, if you do want a filter effect, just swap it out.
 Graduated Neutral Density Filter
Neutral density filters actually block out some of the light that’s coming in. These filters are useful for long-exposure photography. But even photographers that don’t dabble in longer shutter speeds will want a graduated neutral density filter in their kit.
The graduated filter means the effect is only applied to half the frame, and the effect is introduced gradually. This half-effect has many uses, but there’s one that all photographers can get on board with; darkening an overexposed sky.
On a bright day, the landscape is typically much darker than the sky, so exposing for the subject often leaves the sky overexposed, which means losing the details. A bright blue sky with puffy white clouds, if overexposed, could become a bland gray.
Positioning the dark portion of the graduated neutral density filter over the sky will prevent that overexposure, bringing back details like clouds.
A black graduated neutral density filter is the most versatile, but colored options can come in handy too. A blue one will brighten a blue sky even more. Colors like oranges and purples can be used to enhance a sunset.
Graduated neutral density filters come in both square and circle, screw-in types. While the circle options will get the job done, the square filters have more versatility. You can adjust where the graduated portion begins with a square type, but not with the circle.
Graduated neutral density filters have obvious applications to landscape photography, but they’re not one trick ponies. They can be used to leave the details in the sky of an outdoor portrait, or an outdoor macro shot. Graduated neutral density filters can be used to retain those sky details in nearly any type of outdoor shot.
 Polarising filter
A polarising filter modifies the light coming to the lens by either eliminating or enhancing reflections. Twisting the end of the polarising filter will adjust the intensity of a reflection, making them very apparent, or eliminating them altogether. Reflections pop up in photography in more than one way.
Glass, such as in a window, introduces reflections. With a polarizing filter, the photographer can either eliminate them, or make them much more apparent to incorporate the reflection into the shot. Thinking about creatively using a window in a shot? It’s possible with a polarising filter.
Water, of course, involves reflections too. A polariser can enhance the reflections after a rainstorm, or eliminate distracting reflections from a river scene.
Polarising filters have a less obvious use too; darkening the sky. Rotating the filter ring changes the saturation of the sky, so you can control the intensity of the sky from light to dark blue.
Polarising filters also come in handy for making sure your own reflection isn’t captured in the image, like when taking an image of a polished classic car.
However, polarizing filters shouldn’t be used when you don’t need the effect, since they do reduce the amount of light coming in, you’ll need a slower shutter speed or wider aperture when you use one. But, with so many uses, they’re a good item to have in every photography kit.
Filters either alter the light coming into the camera, or keep the front of the camera lens protected, making them useful accessories no matter what you shoot. Every photographer should consider adding a UV filter to the front of every lens to keep it protected from scratches. Graduated neutral density filters can make a big impact by preventing the sky from becoming overexposed, while a polarising filter has a handful of uses most photographers can easily get on board with. Filters are relatively inexpensive, yet they can make a dramatic difference in many types of photographs.
Looking to sharpen your photography skills? Join our top-rated professional photography course today!


